

Set up your tournament — start here
You created a tournament. This page is the order to do things in.
The core flow is event settings → divisions and weights → match rules → roster → brackets and review → weigh-ins and scratches → publishing → mats, scoring, and results. Each step below links to the guide that shows how to do it.
Weigh-ins can come before or after bracket generation. If you prepare brackets first, use registered weights or assigned weight classes, then scratch confirmed no-shows and review the brackets again before publishing. If you wait, finish that division’s weigh-ins before generating its groups. Branding, payments, staff, and devices can be prepared alongside this work.
Before your first real event, ask for a practice one. Email support@snapdown.io and we will set up a test environment at no charge. Build some brackets, weigh a few wrestlers in, score a match. Then break something on purpose and fix it. An hour of that is worth more than reading this page twice.
Set up the event
Section titled “Set up the event”1. Confirm the event basics
Section titled “1. Confirm the event basics”Set the date, location, and event format. Your format choice shapes everything Snapdown asks for later, so settle it before you build anything.
Everything lives on one screen, and Configure your event is a tour of it — what each section does and which settings are worth a real decision.
Still deciding on the format? Choose the right Snapdown event setup walks through the options.
2. Set up divisions and weight classes
Section titled “2. Set up divisions and weight classes”Most tournaments compete in divisions with fixed weight classes. Set these up before wrestlers arrive, so entries land in the right place whether they come from registration or an import.
See Set up divisions and weight classes.
On Event Dashboard → Manage Divisions, add your divisions on Basics. Set eligibility and choose Fixed weight classes or Automatic grouping for each one. For fixed divisions, add their classes on Weight Classes, then Save changes.
Each fixed-weight division has its own bracket types. New divisions start on Standard (round robins and brackets up to 8 wrestlers), and you can change that from the division’s menu, Manage Divisions, or the first time you generate. Weight classes decide who competes together; bracket types decide how they advance. Automatic divisions choose a matchup format when generating groups; see Choose a matchmaking format and generate matchups.
3. Set the match rules for each division
Section titled “3. Set the match rules for each division”Open Manage Divisions → Match Rules, then expand a division’s rules. Set the wrestling style,
which periods are enabled, and the length of each period. Check Championship Matches and
Consolation Matches separately, including overtime where it applies. Times are entered in
seconds: one minute is 60, two minutes is 120.
Use a preset or copy rules to several divisions when they share the same settings, then choose Save changes. Do this before building bouts so the tables use the intended rules. See Set match rules and allowances.
Optional: add your logo and colors
Section titled “Optional: add your logo and colors”Add the event branding before opening registration if you want families to see it from their first visit. See Brand your event.
Bring wrestlers in
Section titled “Bring wrestlers in”4. Choose an intake path
Section titled “4. Choose an intake path”Choose one intake path. With online registration off, the director can import a roster and make individual additions. Individual registration disables the general roster importer so every wrestler stays connected to a registration record. Team registration allows wrestler imports into teams already on the event, but the import cannot create teams.
Online registration lets entrants sign up and pay through your public event page. This is the one to use for an open tournament where you have no roster yet. Do it after step 3 — entries land in divisions, and moving them later is real work.
Roster import takes the wrestlers from a spreadsheet you already have. Snapdown recommends a template layout based on your event format, then walks you through column mapping and a preview before creating anything.
For team registration, the paid entry is the team. Its wrestlers belong on the registered team’s roster and are not separate individual registrations.
See Add wrestlers to a standalone event.
While registration is open, keep an eye on who has entered and who hasn’t. Chasing a few stragglers in advance beats sorting them out at the scale on event morning.
5. Set up payouts
Section titled “5. Set up payouts”Collecting registration payments? Connect your payout account early, while entries are still trickling in.
Build the competition
Section titled “Build the competition”6. Add your staff
Section titled “6. Add your staff”Add the administrators and table workers who will help run the day. Give each person the access their job needs and no more — a table worker with admin rights can change a bracket by accident at 9am.
See Add event staff and permissions.
7. Set up mats
Section titled “7. Set up mats”Tell Snapdown how many mats you have. Mat count feeds scheduling, bout numbering, and the Mat Control Center, so it is worth getting right before the next step.
8. Build brackets or matchup groups
Section titled “8. Build brackets or matchup groups”- Build individual weight-class brackets
- Choose a matchmaking format and generate matchups
- Build a single dual or dual tournament
On Brackets, select each division and use its applicable generation tool. Check that the right wrestlers are included, their classes and seeds are correct, and each bracket has the intended format and placement depth. Creating and filling brackets is preparation; Match Publishing builds missing bouts when you publish or Run a rule.
The bracket family and Bracket Places setting together determine the advancement path and placement bouts each wrestler can receive, which matters more to the families in the stands than anything else on this page. Bracket formats and wrestleback crossover rules covers the format tradeoffs. Set bracket places and team-scoring places explains how competition depth differs from the team placement-point cutoff.
9. Schedule matches across mats
Section titled “9. Schedule matches across mats”Choose how the competition will run across your mats. You can plan this before weigh-ins, then publish or Run it once the field is ready. For one shared schedule, start with System Managed. Use Director Managed for separate sessions, dedicated mats, or a finals rule.
- Use System-Managed Scheduling across mats
- Plan your tournament schedule
- Run morning and afternoon sessions
10. Get your screens ready
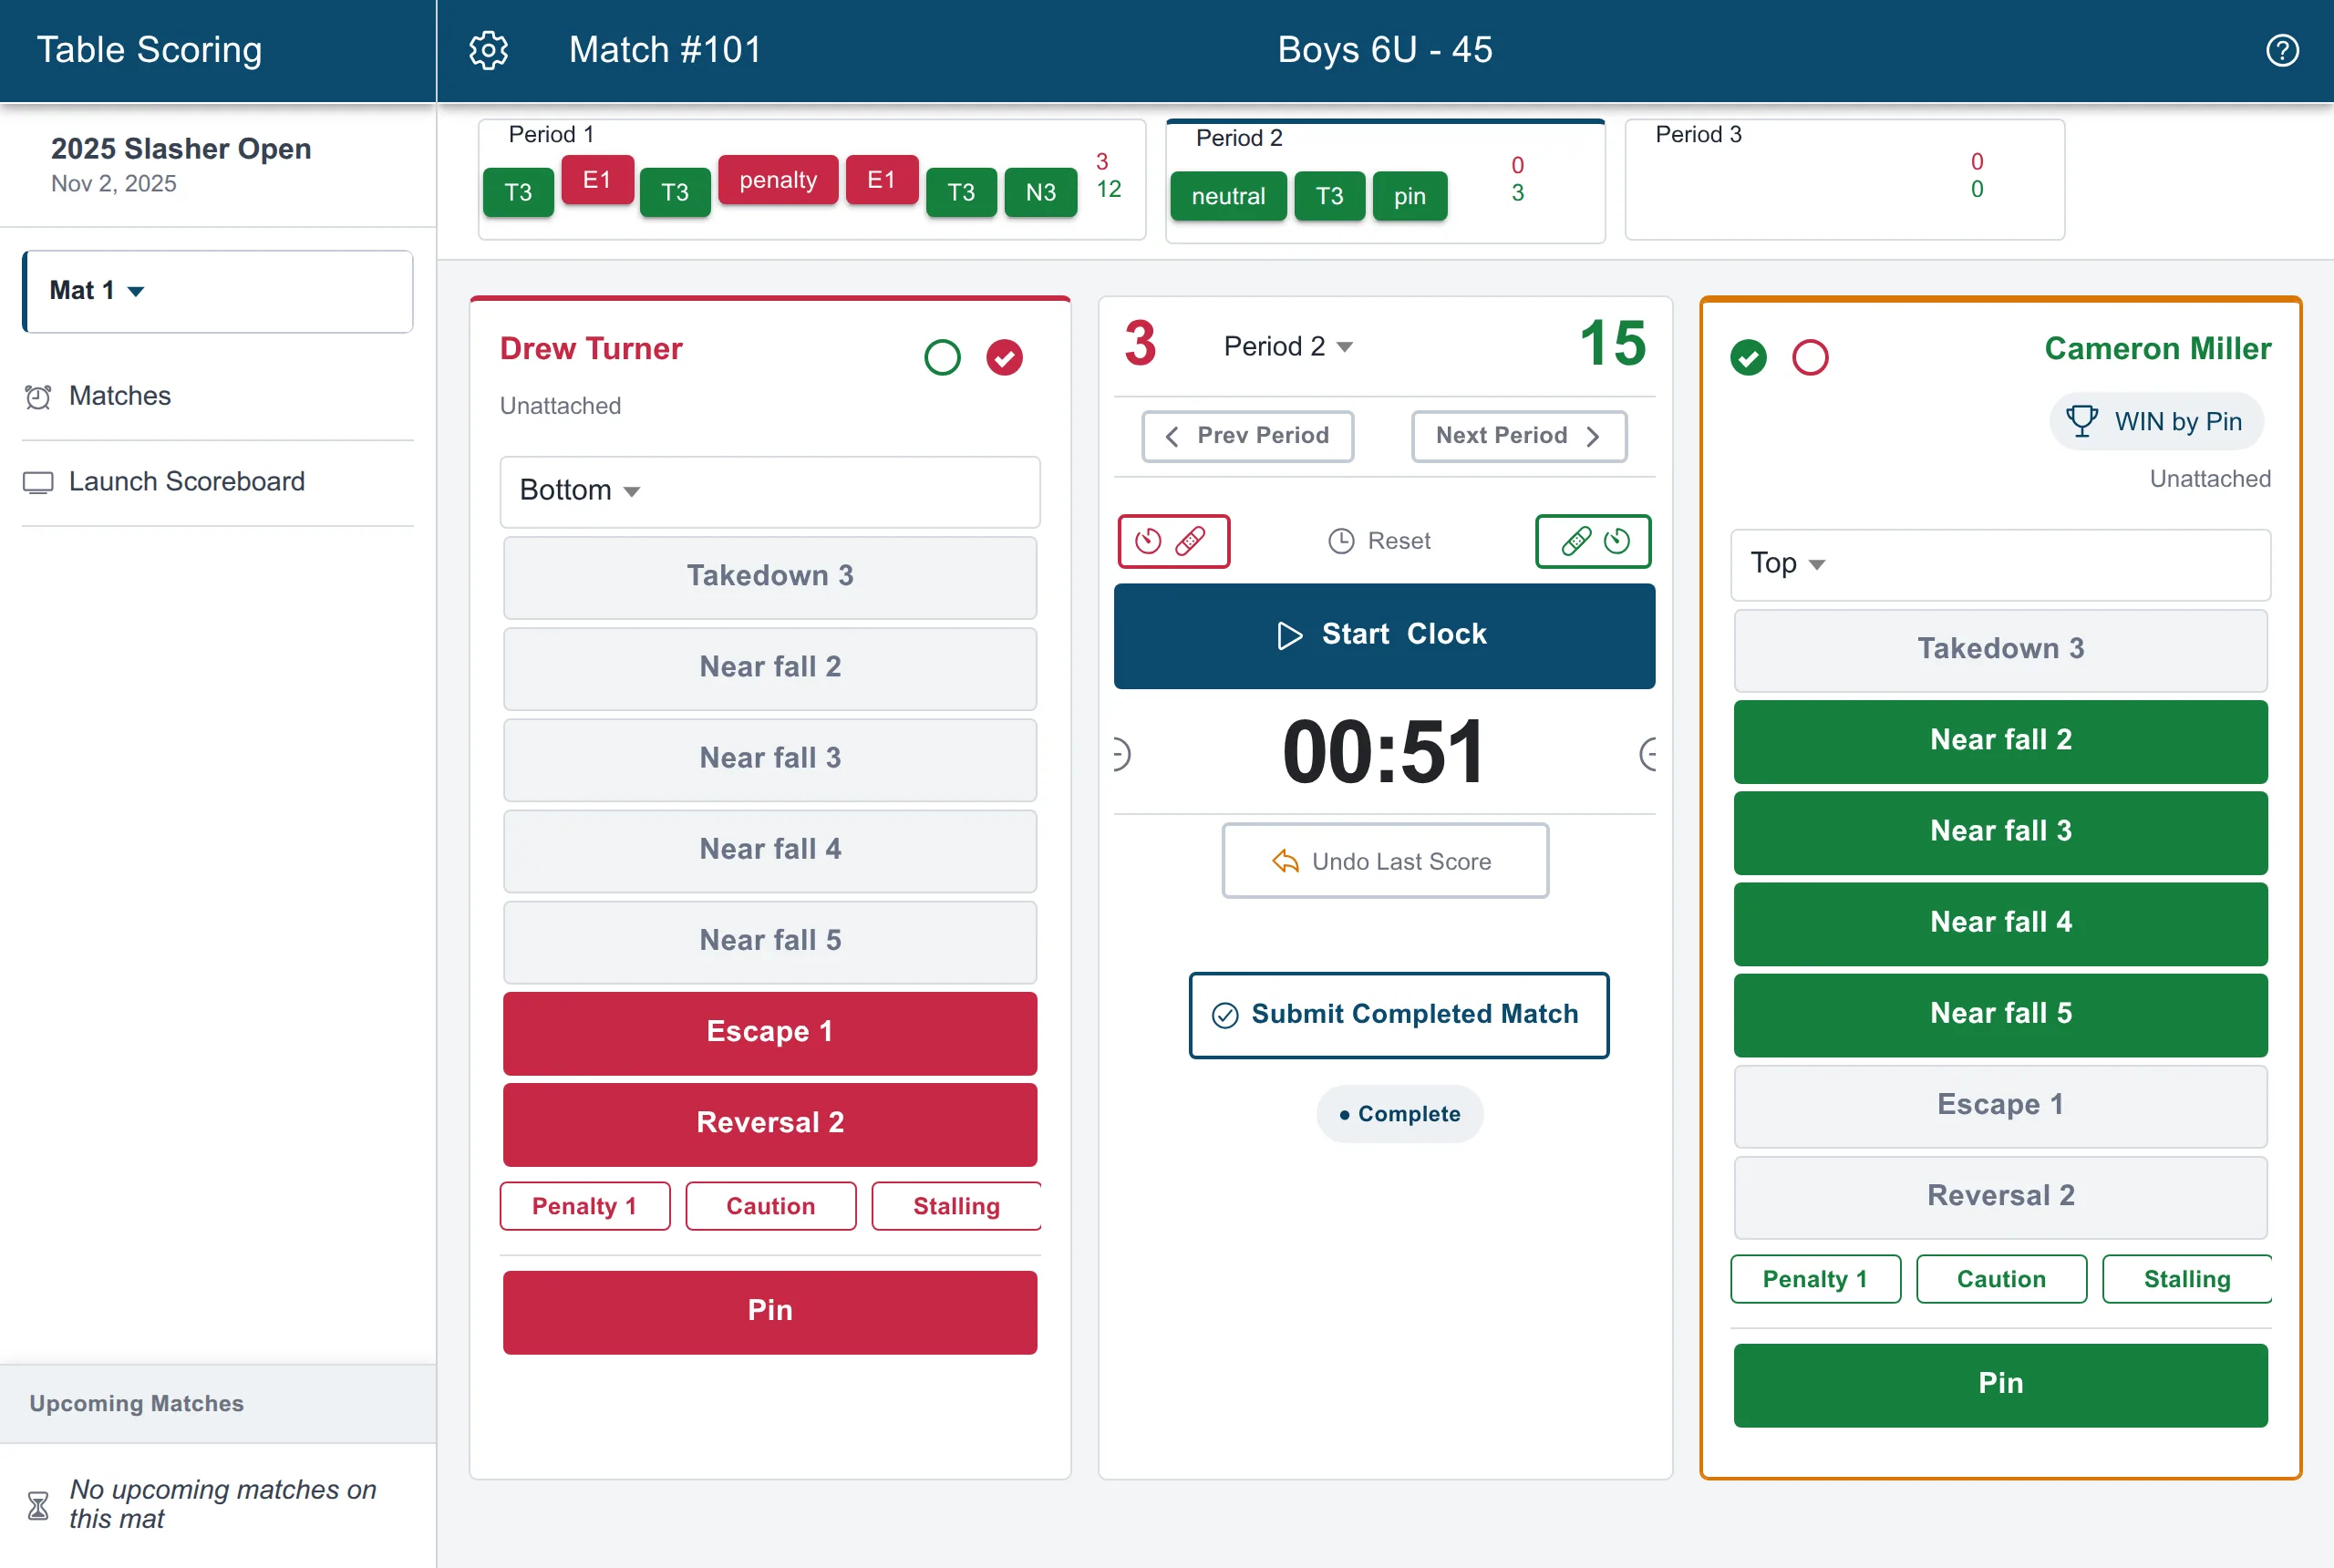
Section titled “10. Get your screens ready”Snapdown runs on screens. Before event day, work out what goes where: a device at each scoring table running Table Scoring, a display somewhere visible for the Bout Board, and your own device for the Mat Control Center.
We recommend a laptop or Chromebook at each table, with an external monitor or TV facing the mat. The scorer works on the laptop, and wrestlers, coaches, and the families in the stands read the score off the big screen. That second display is what makes a mat feel properly run.
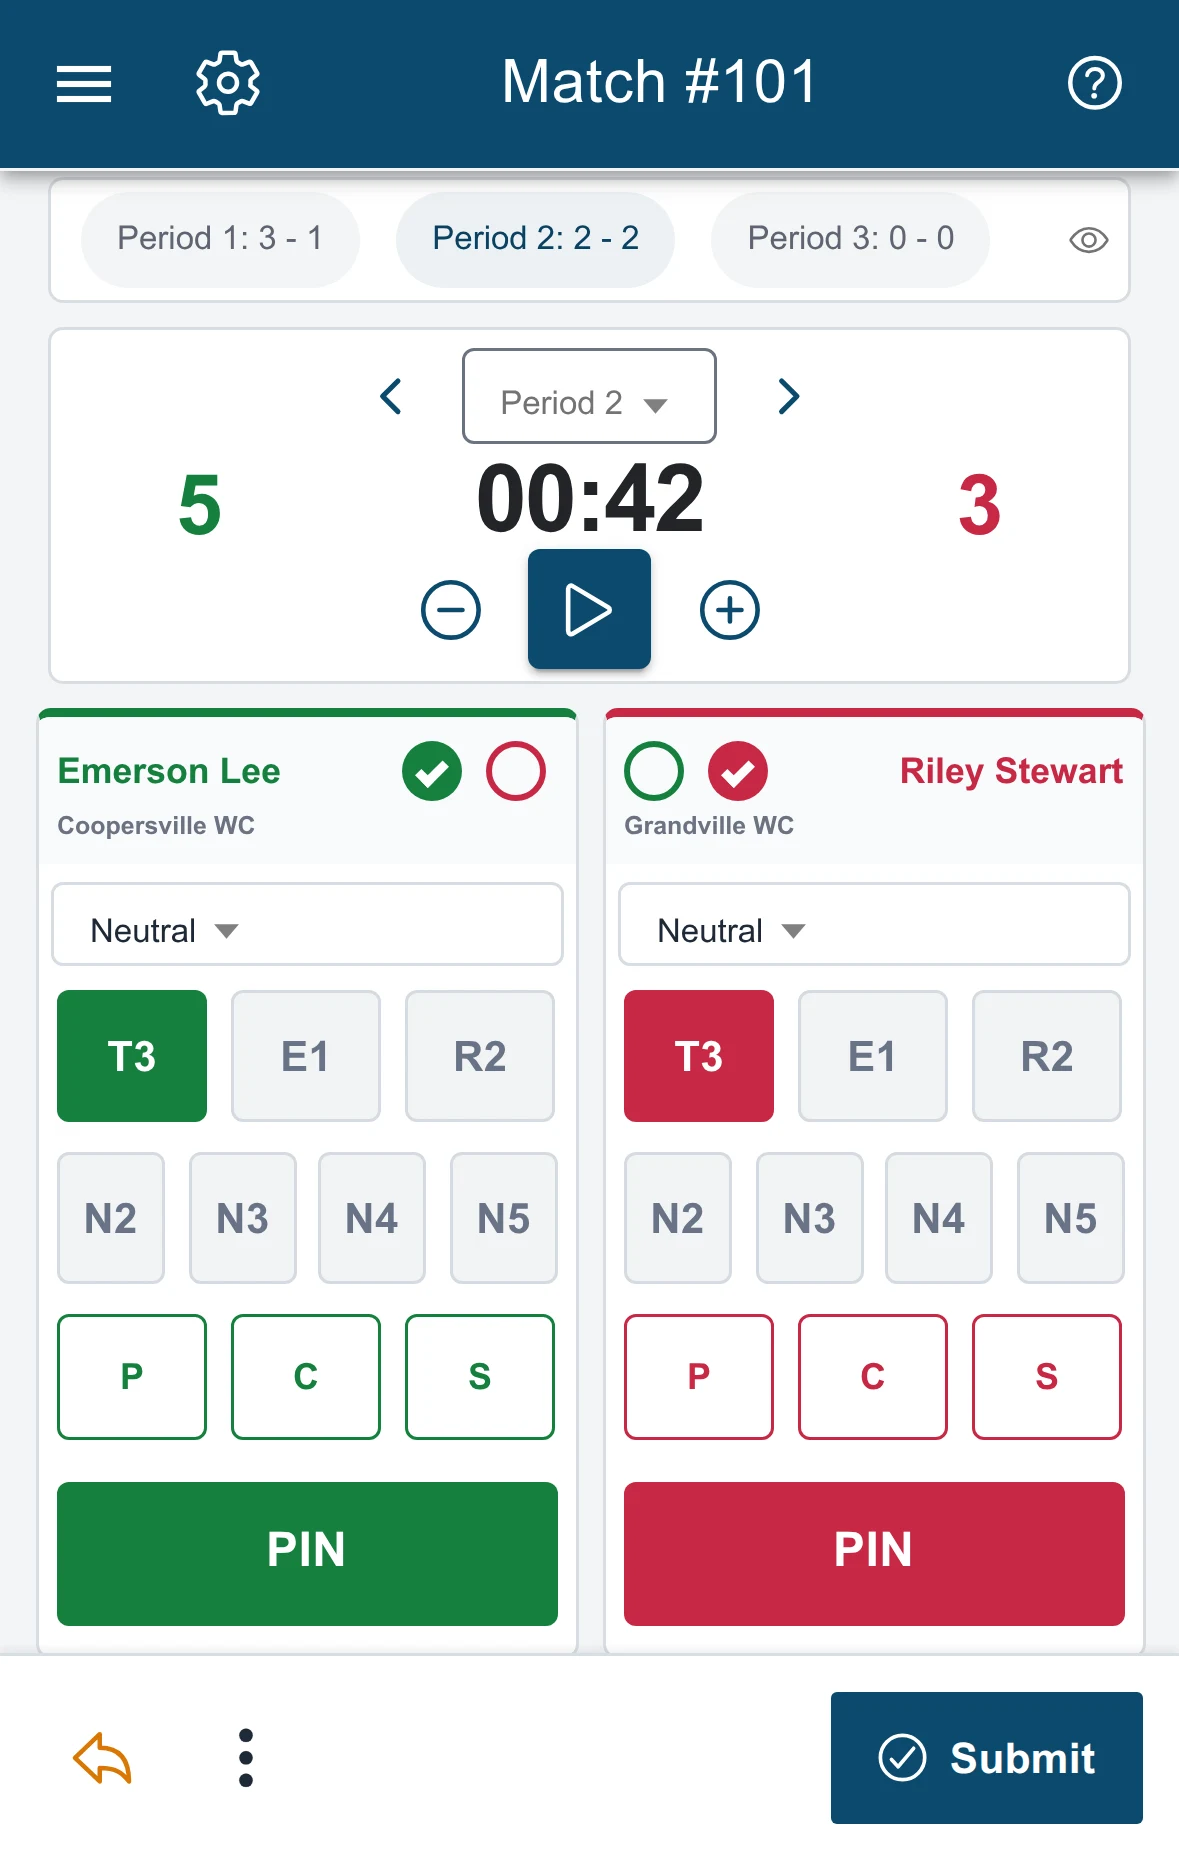
A phone works too. If you don’t have a laptop for every table, Table Scoring has a purpose-built phone layout rather than a shrunken desktop one, and the event runs correctly either way. What you give up is the mat-side display, not any scoring ability.
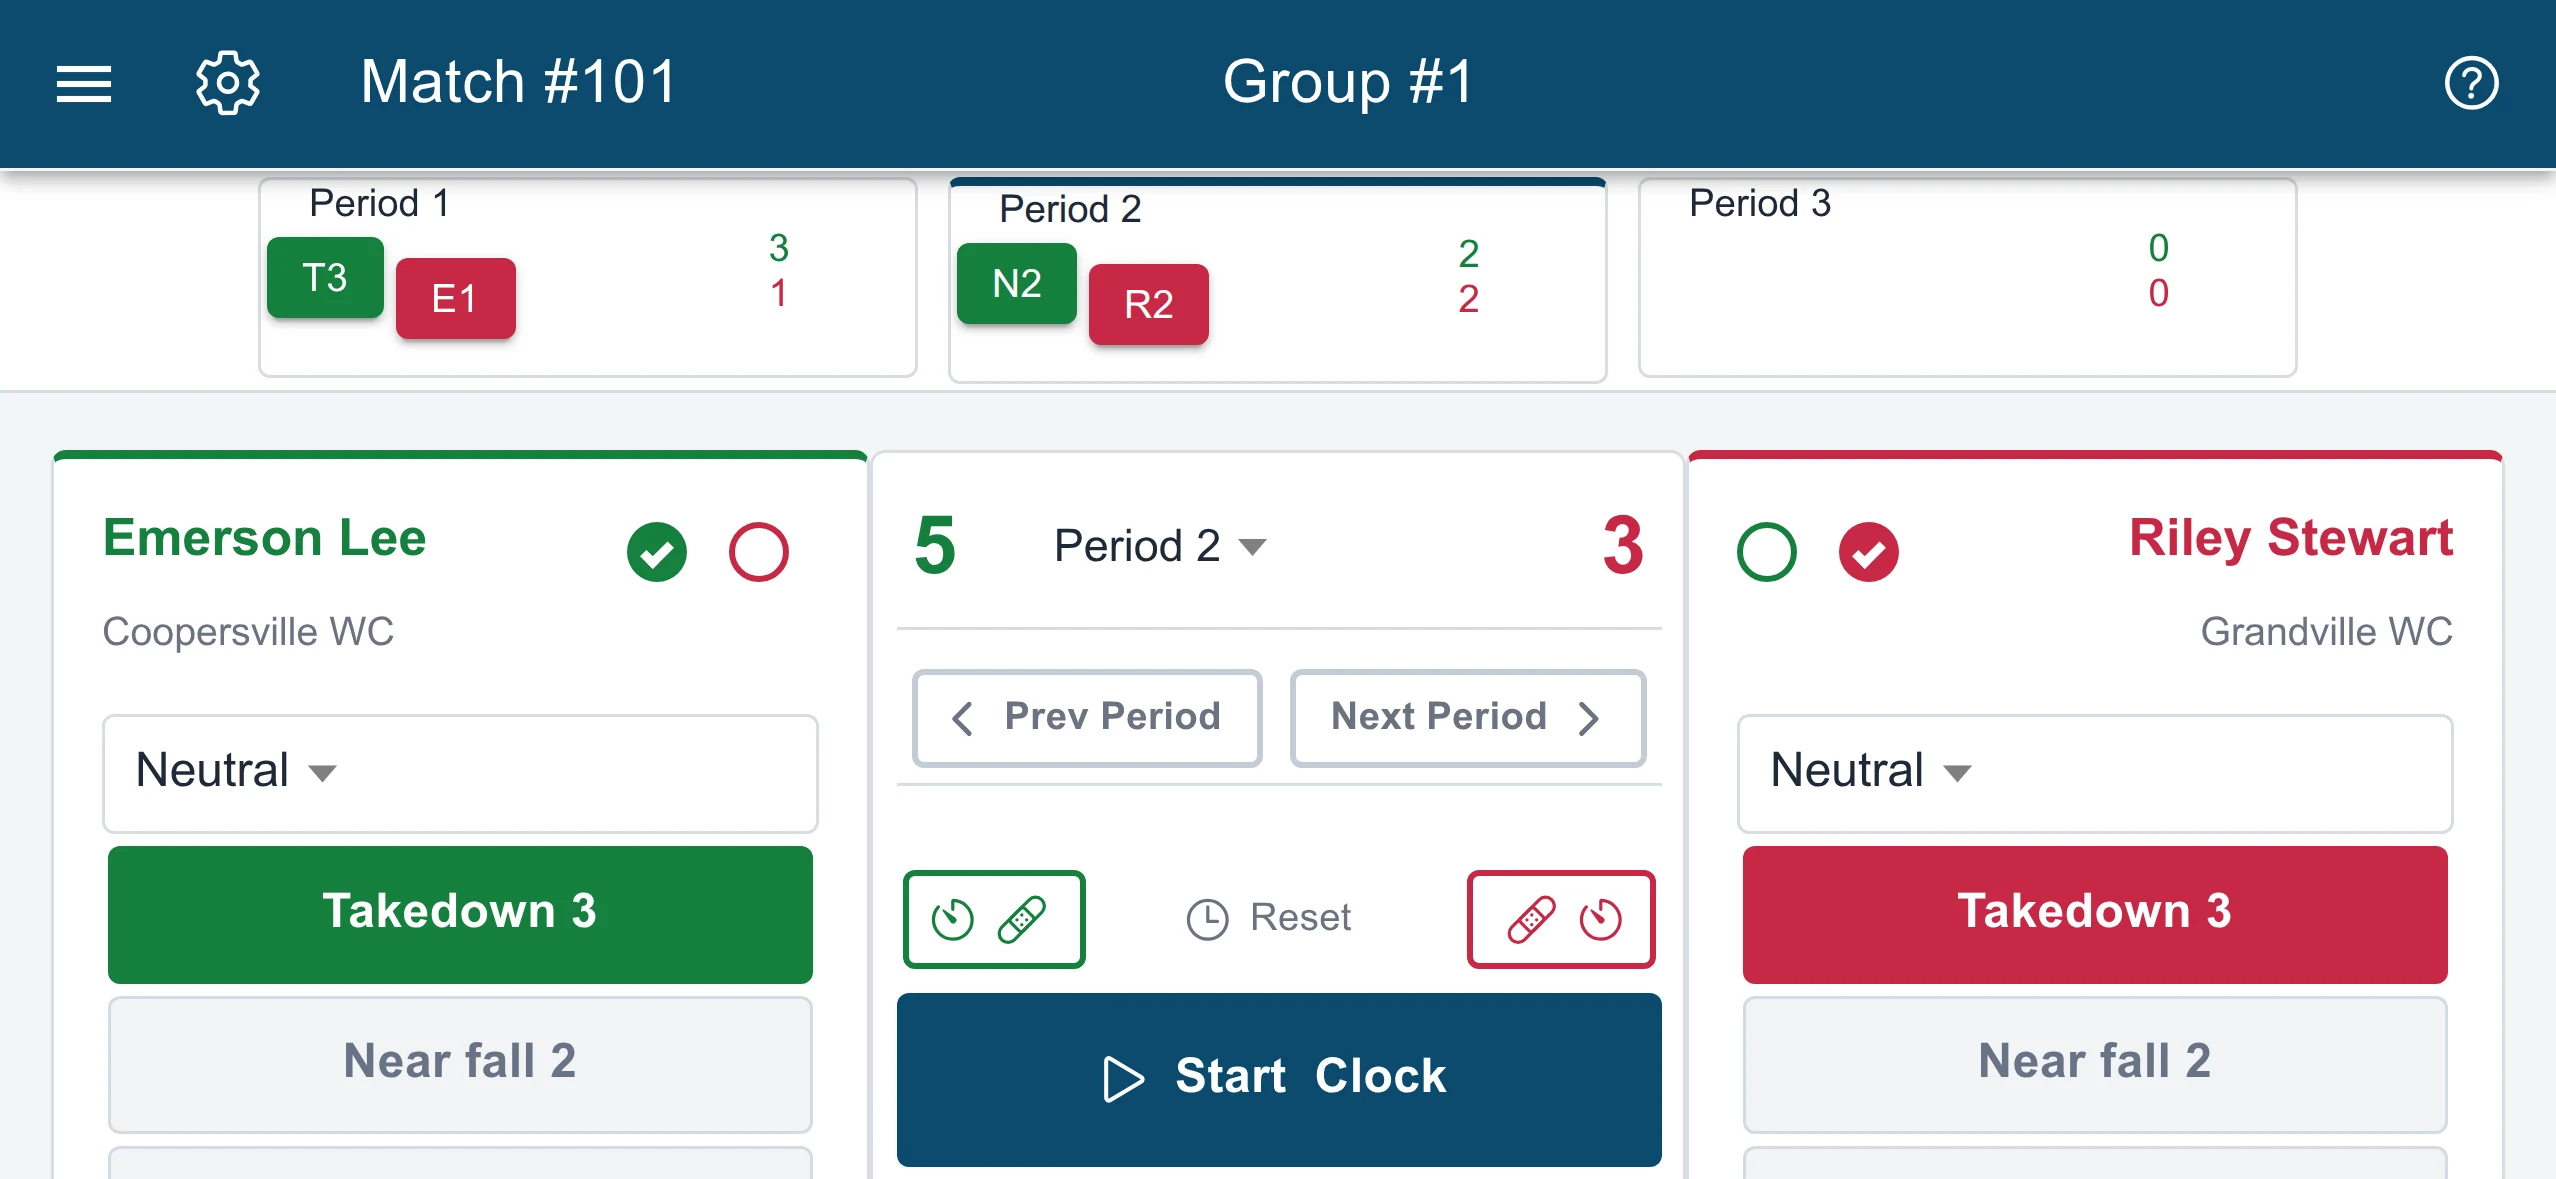
Sideways, the phone shows the full board with each period’s scoring along the top.
So equipment does not have to hold up your event. Start with the phones your volunteers already have and add laptops and mat-side screens as you get them.
Get your staff signed in ahead of time so nobody is resetting a password at 7am, and check that the venue’s network really does reach the tables. Gyms are unpredictable.
You can print weigh-in sheets and bracket sheets if you want paper as a backup. Running the event does not require them. See Print brackets, weigh-in sheets, and bout lists.
Event day
Section titled “Event day”11. Weigh in
Section titled “11. Weigh in”You can prepare automatic-grouping brackets from registered weights, or fixed weight-class brackets from assigned classes, before weigh-ins. After weigh-ins, use the roster’s Not Weighed In filter to find likely no-shows. Confirm who is absent, then use Actions → Scratch wrestlers… and choose the reason. Scratching clears their bracket spots. Review affected brackets and any offered downsizing before publishing matches. A missing weigh-in never scratches someone automatically.
Scratch… on a wrestler’s Roster row works one division at a time. Once they’ve started or completed a bout there, it withdraws them: results stand and remaining bouts become forfeits or injury defaults. Keep their event entry instead of deleting it. See Run weigh-ins for no-shows and overweight wrestlers, and Withdraw an injured wrestler for someone leaving after competition starts. See Choose a matchmaking format and generate matchups or Build individual weight-class brackets for the applicable preparation flow.
From here on, Run your tournament from weigh-ins to results is the event-day order in one page.
12. Publish and run the mats
Section titled “12. Publish and run the mats”Return to Match Publishing after the bracket review. In System Managed, choose Publish Schedule. In Director Managed, choose Run… on the saved plan or rule, review it, and confirm the mat load. The detailed guides are linked in step 9.
Then keep the mats fed, have each table score its bouts, and display what’s next:
13. When something changes
Section titled “13. When something changes”Something always does. All four of these are routine:
- Add a late wrestler after publishing
- Fix a duplicate wrestler or wrong weight class
- Change brackets after publishing matches
- Add an exhibition match or dual
Try each one on a test event first. These are what directors ask about most on event morning, and doing them once in practice takes the fear out.
After the event
Section titled “After the event”Once every match is scored, your results are complete. Standings, team scores, and exports live on the event dashboard.
Need to refund someone or cancel? Refunds and event cancellations.
Questions
Section titled “Questions”Email support@snapdown.io.